Friday, May 27, 2011

Close up of the motor that pushes this beast, 13 hp peak 48Volts


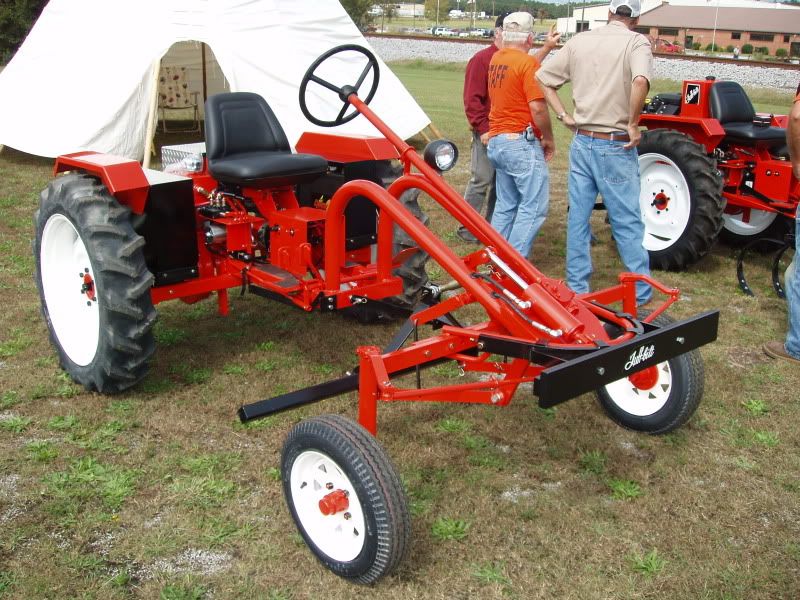
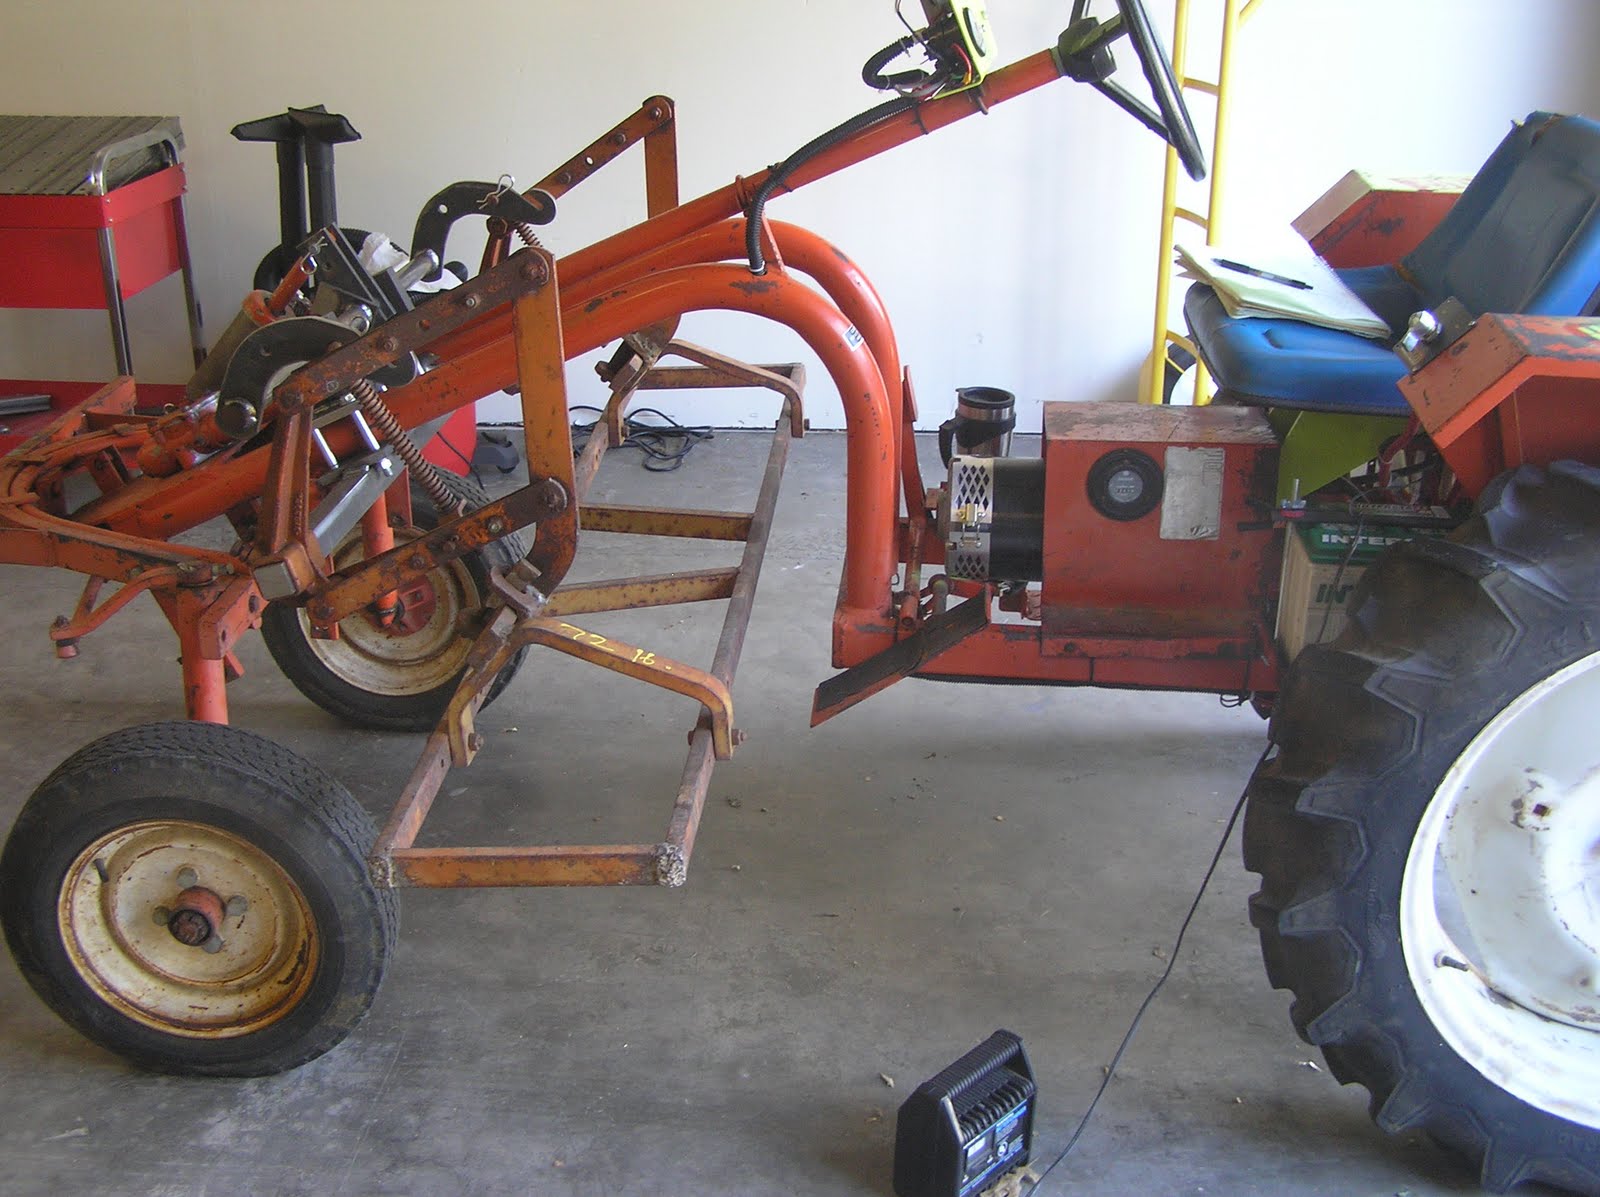
Side View of the tractor, with front attachments created by David Grau at Valley Oak Tool
Here is the hydraulic manifold, that controls the hydraulics. We used a hydraulic Pump from a former truck of Richard's that had a dump bed on it. 

Dash board, has an Amp-meter and volt meter, along with  a light to let you know when it is on. The throttle is to the right. 


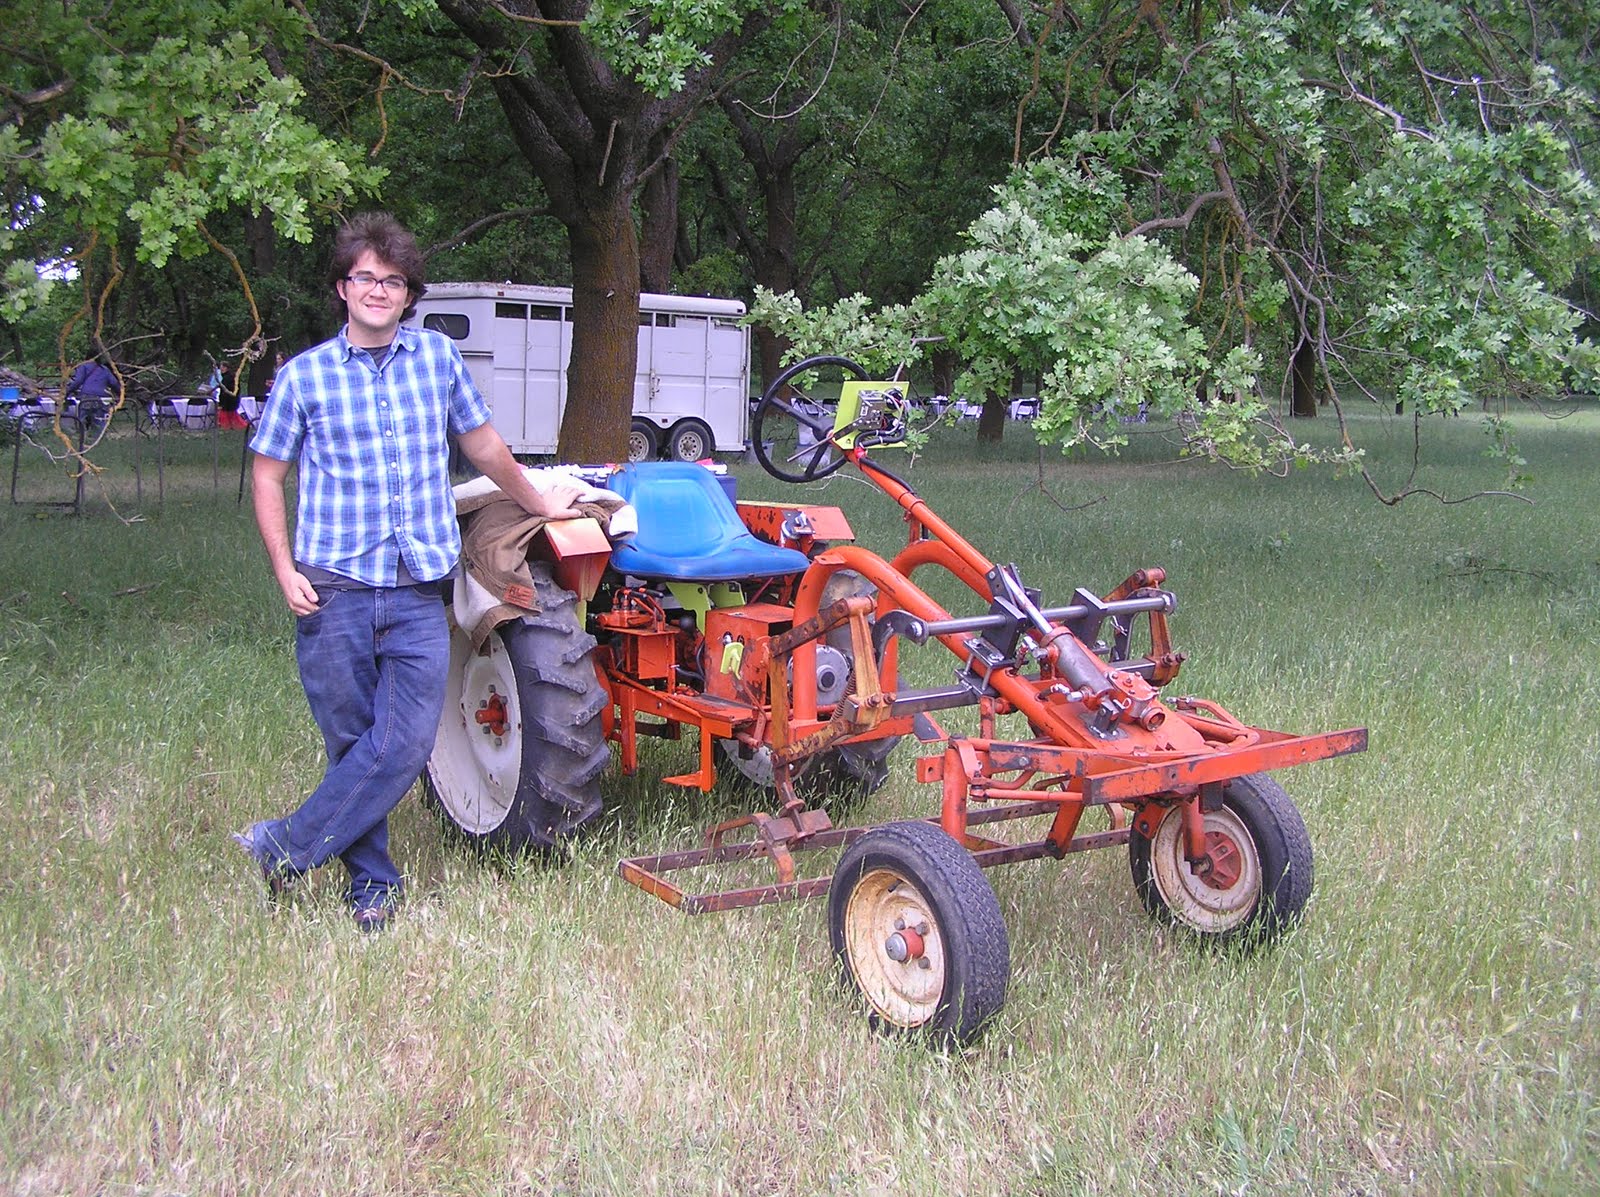
Here is me standing next to it at the SlowFood lunch.


Update Bomb

Due to school and finishing up this I haven't had much time to update, so here comes a big one.

Saturday, April 30, 2011

Here's the motor wired in and in it's place. fits very well and feels secure.


Here's the motor controller in its proper place. This takes input from the throttle and converts that into a PWM signal (basically it controls the speed of the motor based on the throttle) to be sent to the motor. 

Haven't gotten around to posting in a bit, so here are some tardy posts.

With the cable crimper and cable cutter I began making cables for everything, Theres alot of work that goes into this. 


Tuesday, March 29, 2011

Video of start up


Here is the first time we "fired up" the tractor. Still in Proto mode, just wanted to make sure all my wiring was right. 

Monday, February 21, 2011

BATTERIES ARE IN!

Got 4 12 Volt deep cycle batteries from a local company here in Chico called Energy Masters. Really helpful, and American made batteries. These things are HEAVY, but they fit the battery box so right :) 

Monday, February 14, 2011

Teaser

Here is a teaser of the color. Photo doesn't do it justice.

Battery Box Completed

The battery box is finished, it is made out of 1.5"x 1.5" tubing with angle iron on top. As well it will act as the mount for the hydraulic pump we are using.

Saturday, January 29, 2011

Motor Attached!

So today was pretty exciting. Worked with David all day and finished making the motor plate, thanks to him and his awesome machining skills. The plate we decided should be made out of 1 inch steel, mainly to space the motor away from the input shaft away from the drive shaft of the motor, rather than for strength. After finishing machining I took it to the tractor and bolted it on to make sure it fit well.

It did.


Next step is to finish design of the battery box so it can be fabricated by next weekend; and making the control board.

Tuff built tractor

To give you an idea of what we are starting with, here is a Tuff built tractor that looks brand spanking new. Hopefully ours turns out this nicely.

Parts are in

Parts are in! EVAmerica shipped us a bunch of goodies last week and they came today, all nicely packaged and marked clearly. 

Here is the heart of the electric tractor, a 12hp DC electric motor, we will be running this motor at 48v.

Old Parts Removed

Here you can see all the parts removed. The system is a combustion engine that spins a hydraulic pump, which in turn works all the hydraulics on the tractor, plus propel it through the hydraulic motor, that we are replacing. There is a 12V hydraulic pump we are replacing this mess with in order to retain the hydraulic lifting of attachments. 

Intorduction

So around November I responded to an ad in  my School's job search website about building an electric Tractor. The following Friday I met with Richard and David to discuss their ideas. thee had a vision of making an electric tractor, to be used for cultivating. Their idea was that you want organic food to be organic, not have a gas engine spewing it's chemicals over the food you eat. I couldn't find any flaws in this argument. So the planning stages started. I was attending school so time was limited and I mostly allocated time to research and planning.

As we all know the internet is full of good and bad information. A couple of websites I have found to be very helpful: http://www.flyingbeet.com/electricg/ and http://www.EVAmerica.com/  .So after getting alot of the details squared away we purchased some parts from EVAmerica.